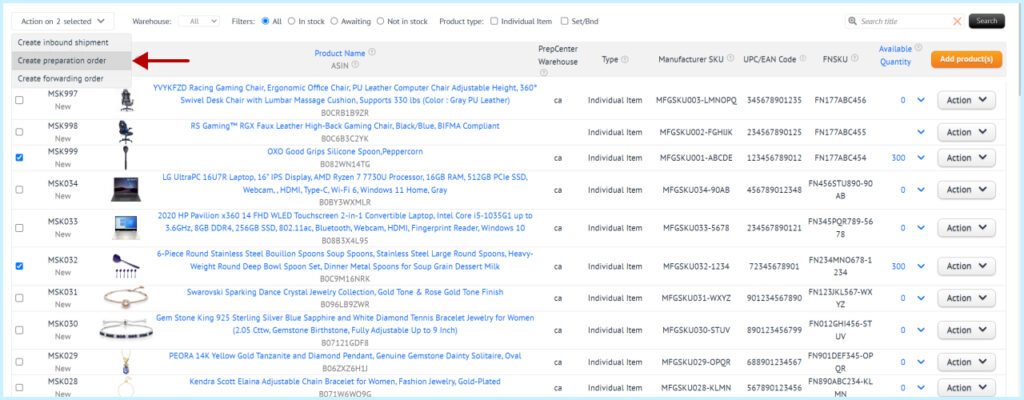
Select the item/s that need to be prepared and shipped from the warehouse. Click the Create preparation order button.
Method 1:
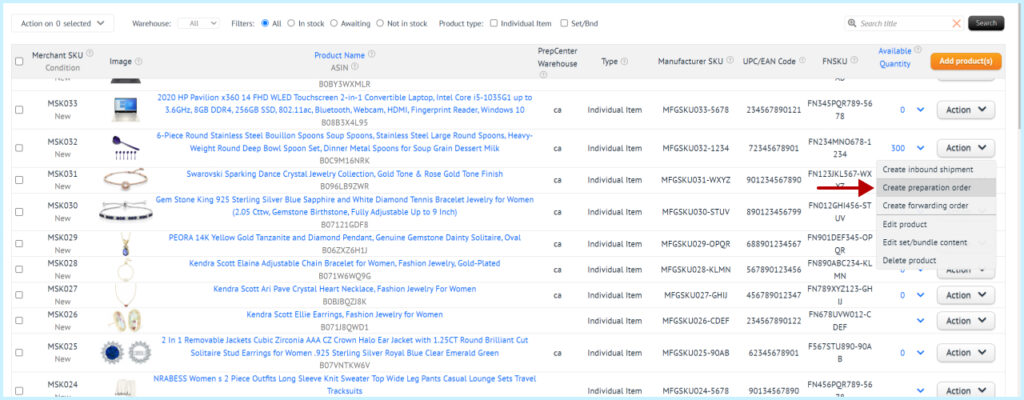
Method 2:
In the Preparation order Name field, enter the name of your order. Optional field.
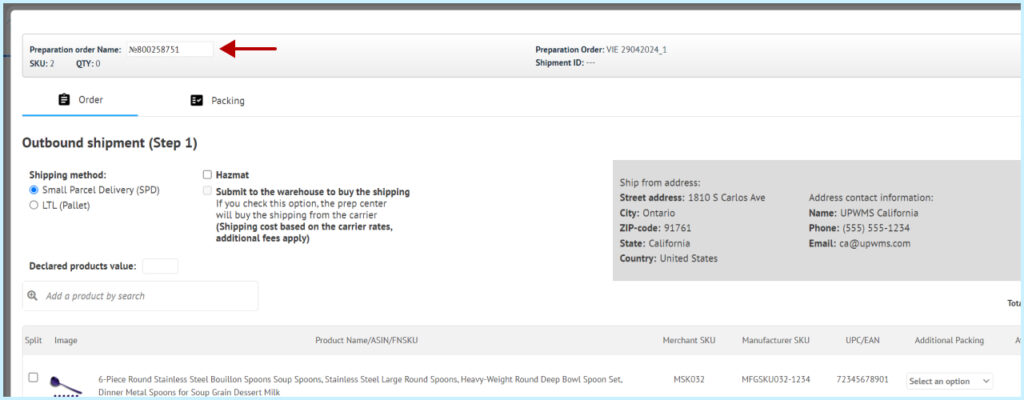
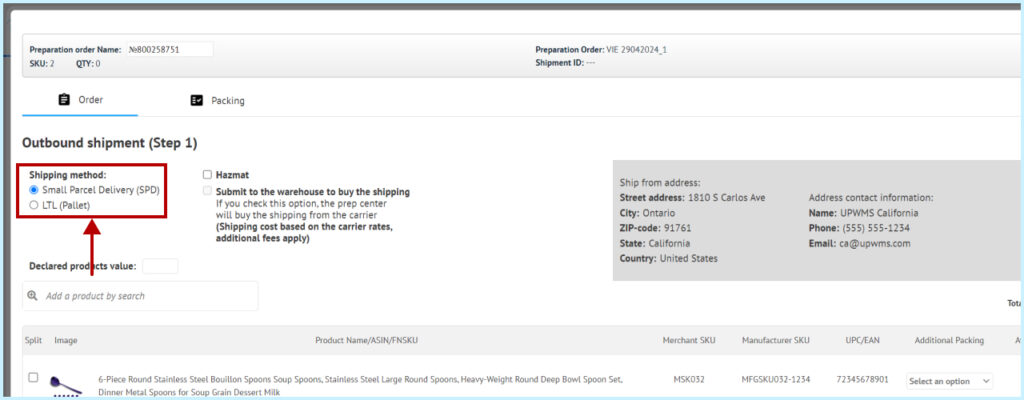
In the Shipping method field, select in what way the item will be shipped from the warehouse: Small Parcel Delivery (SPD) or LTL (Pallet).
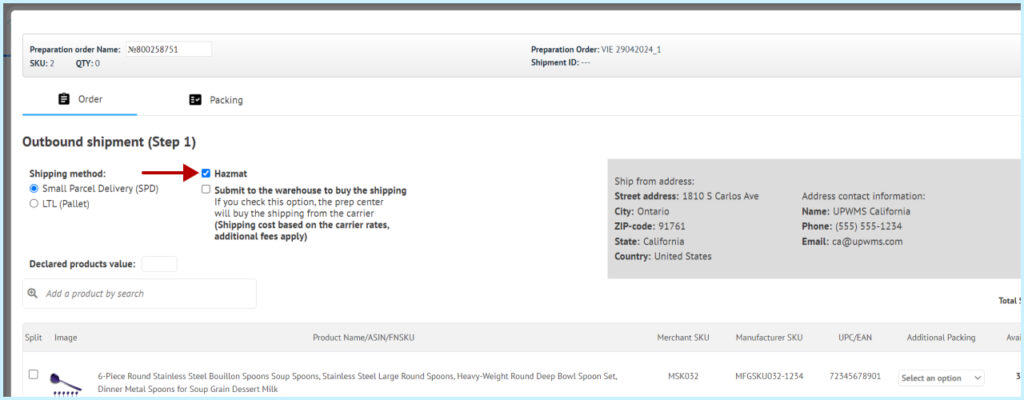
Check the Hazmat checkbox if your items are Hazmat. Optional field.
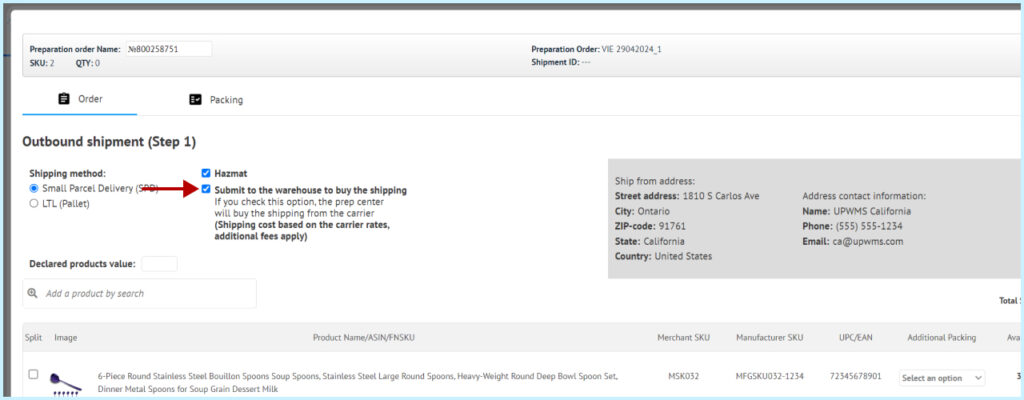
To make the warehouse buy a shipping label for your shipment, you can activate the checkbox below the Hazmat field. Optional field.
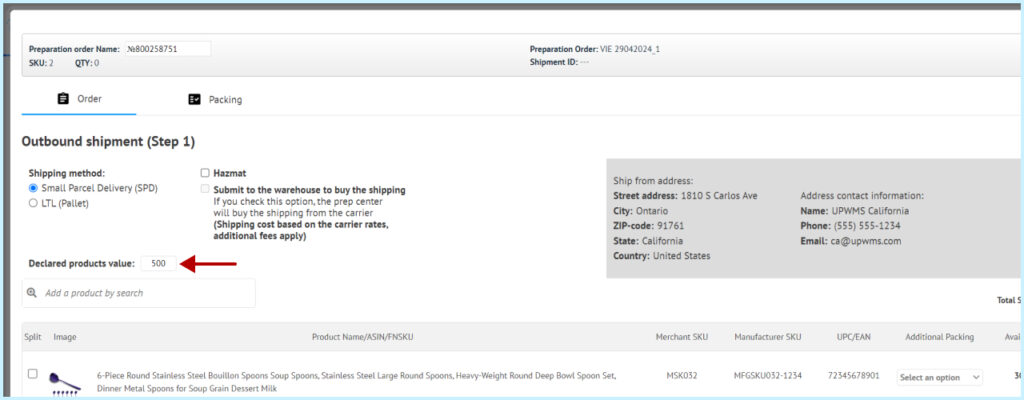
In the Declared products value field you can specify the declared value of the items in this shipment, this will give the warehouse an understanding of how much to insure the shipment for. Optional field.
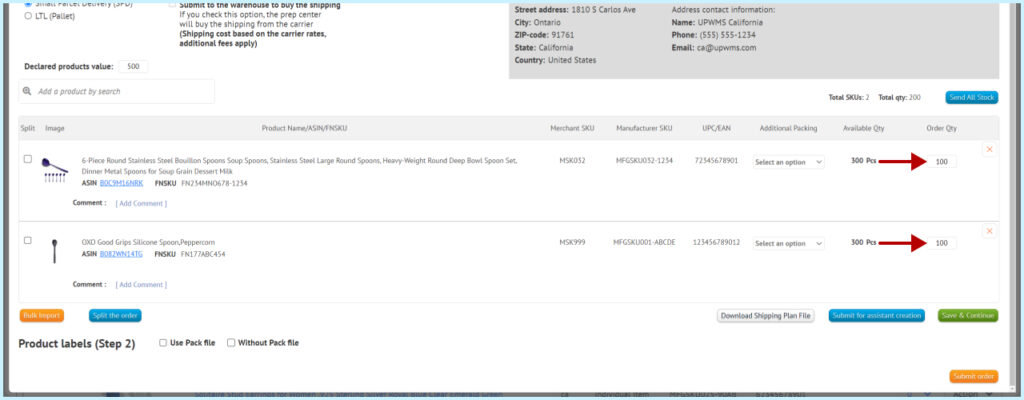
Specify the quantity of items to be shipped.
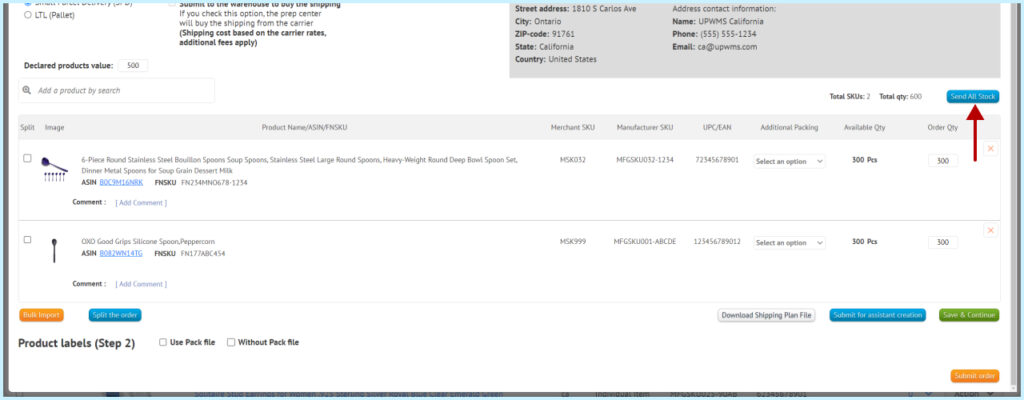
If you want to send the entire quantity of the selected items, click Send ALL Stock.
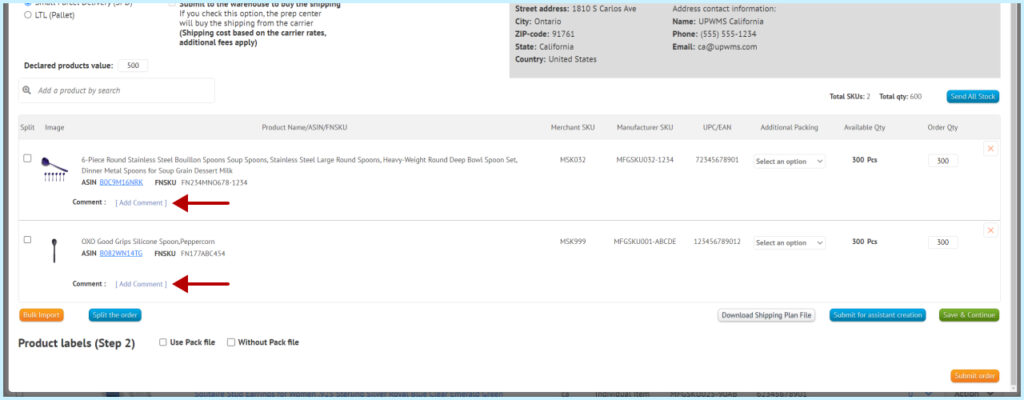
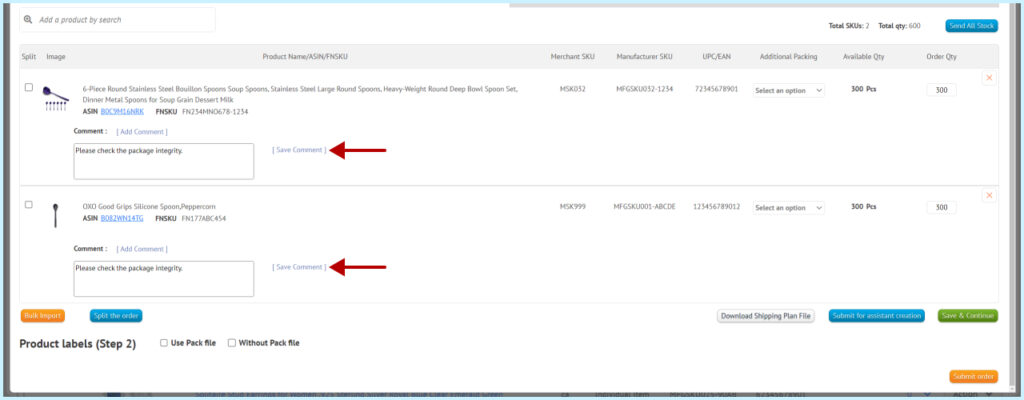
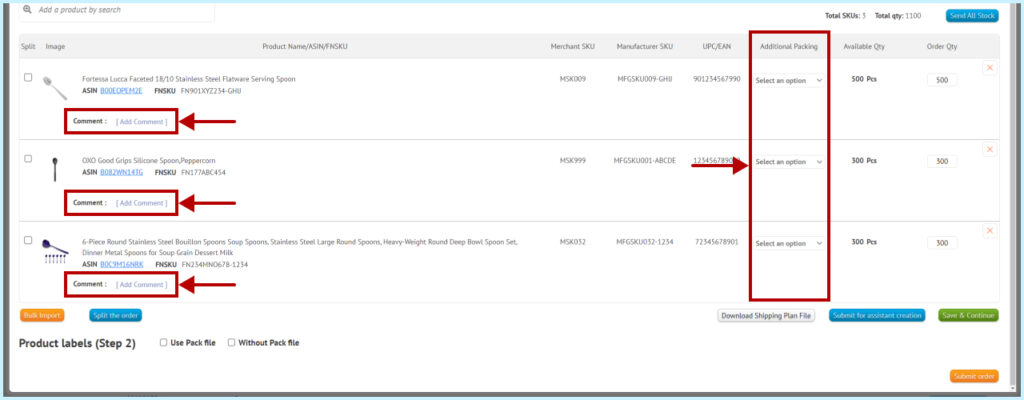
You can add a comment on the item, this comment will be seen by the warehouse employee who will pack your item. Optional field.
Select Additional Packing. Optional field.
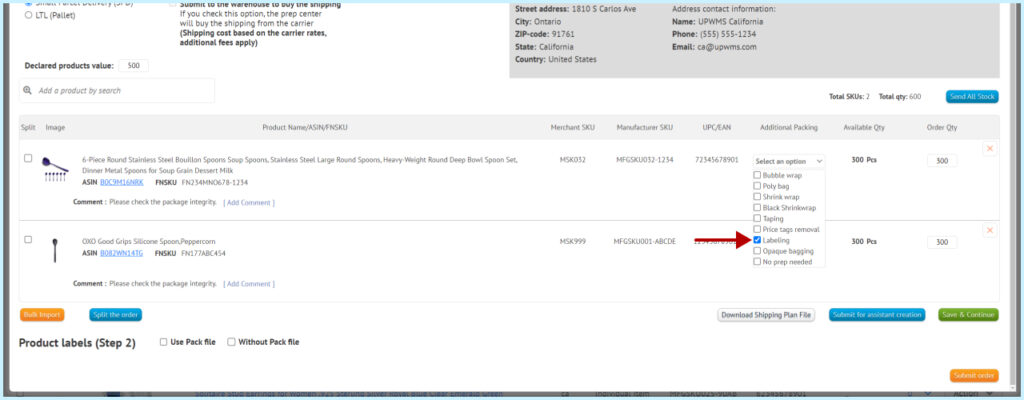
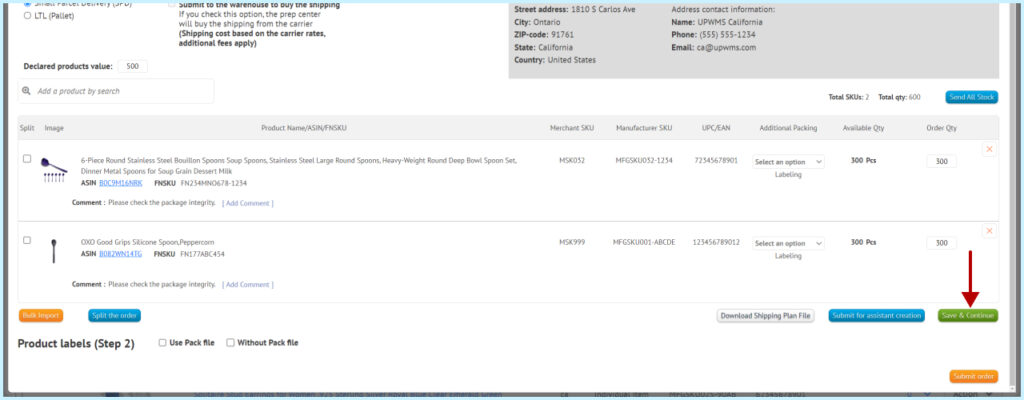
Click the “Save & Continue” button to save the changes.
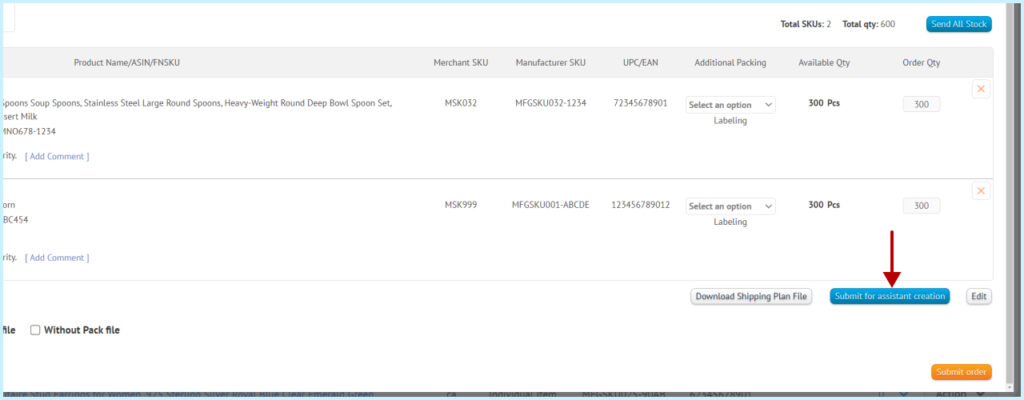
If you need help from an assistant, click “Submit for assistant creation”. Then your order will be sent to an assistant who will do the shipment processing in Amazon Manage Inventory for you. This function is optional.
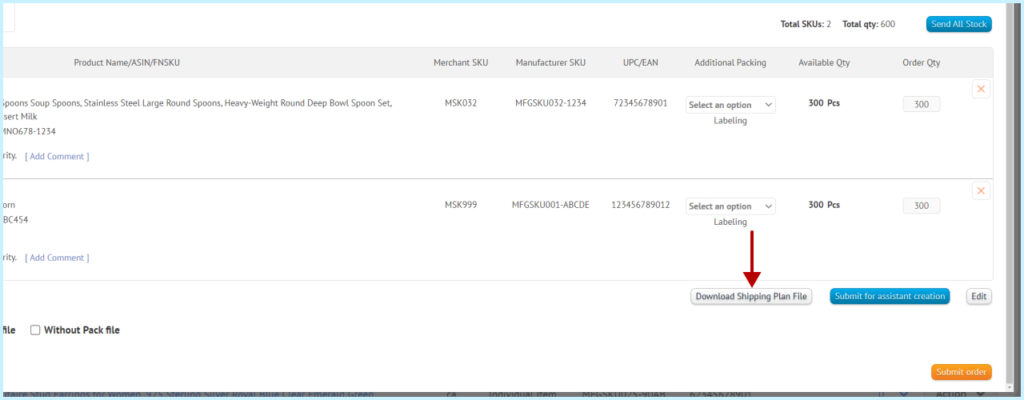
You can save the items you are shipping to a file so you can upload that file to Amazon and create a Shipment from it. To do this, click the Download Shipping Plan File button. This function is optional.
Split the order:
If you need to separate some items from this order, select those items with check marks.
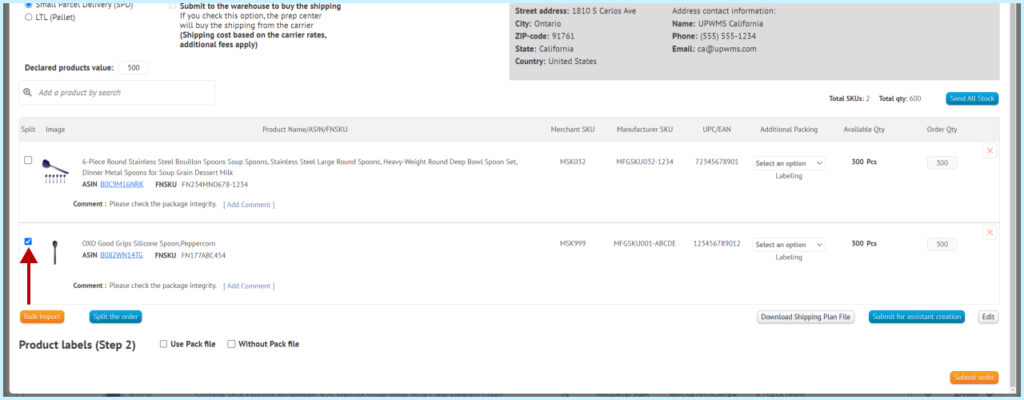
Then click the Split the order button.
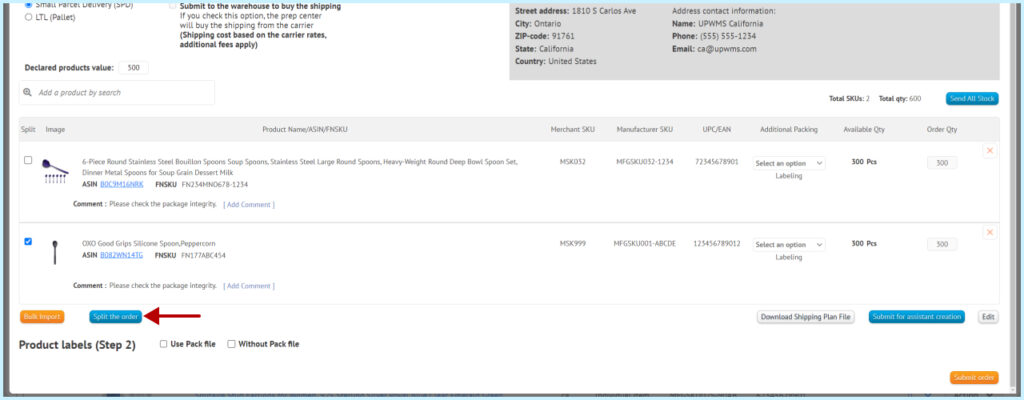
These items will be placed in a separate preparation order.
Adding items from a file:
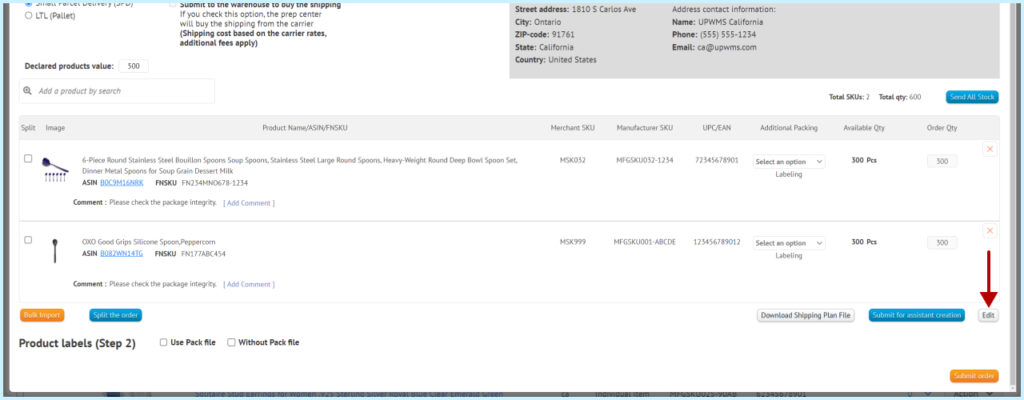
If you want to add items from a file, go to the order editing mode.
Click the Bulk Import button.
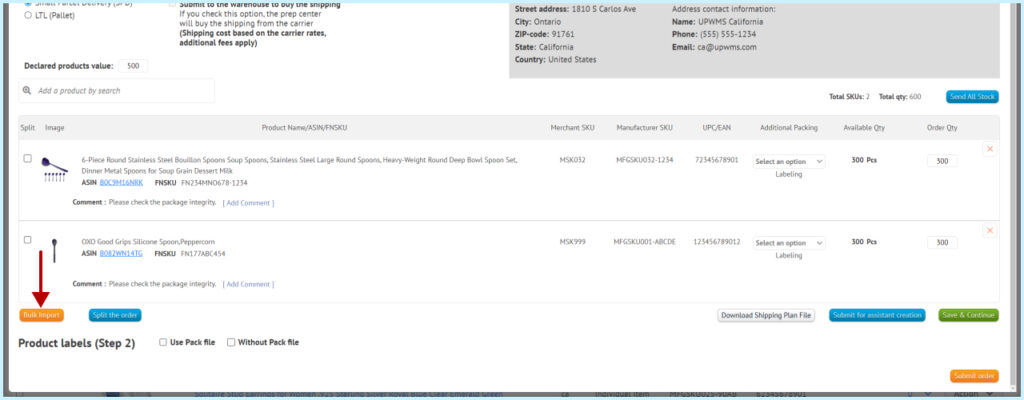
Download the file template and fill it with the items you need.
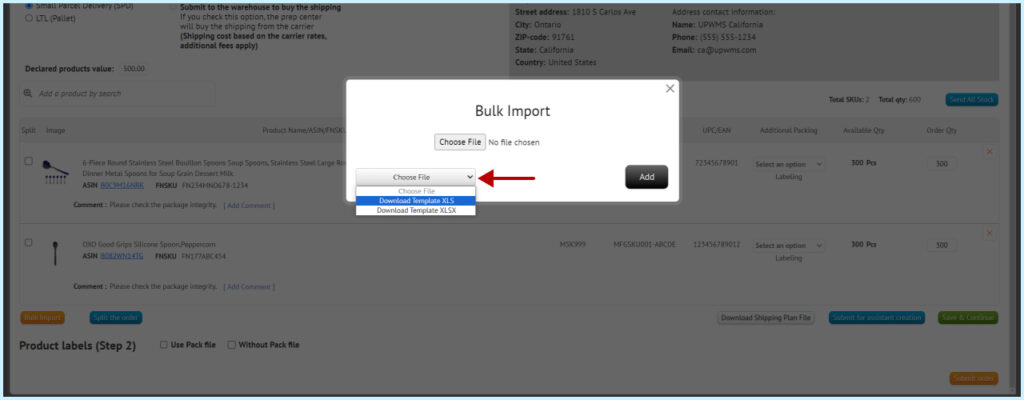
Upload the items file to the warehouse management system.
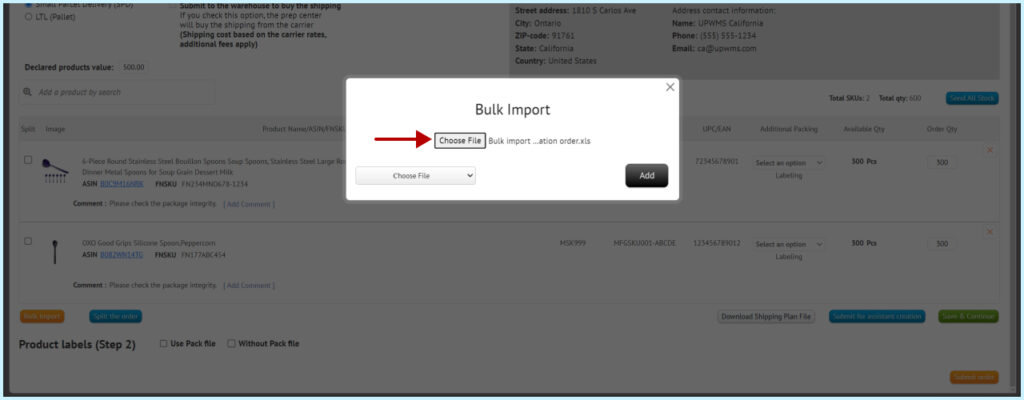
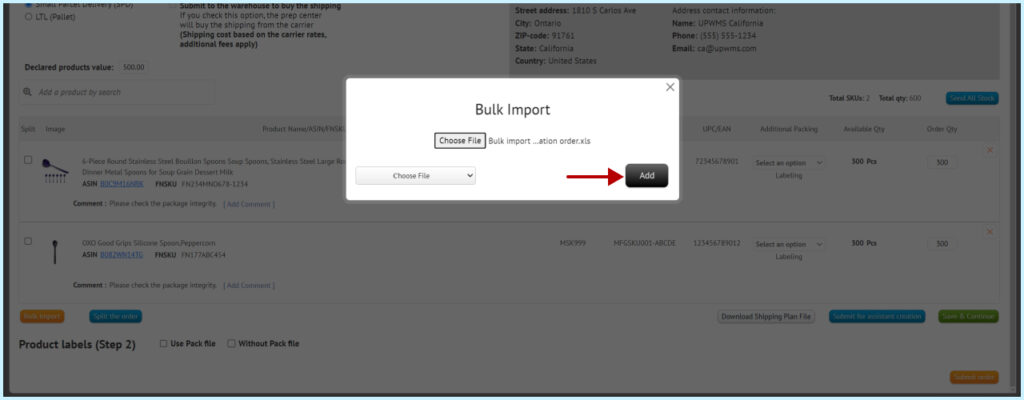
Click the “Add” button.
Select Additional Packing if needed and leave a comment on the items.
Click the “Save & Continue” button.
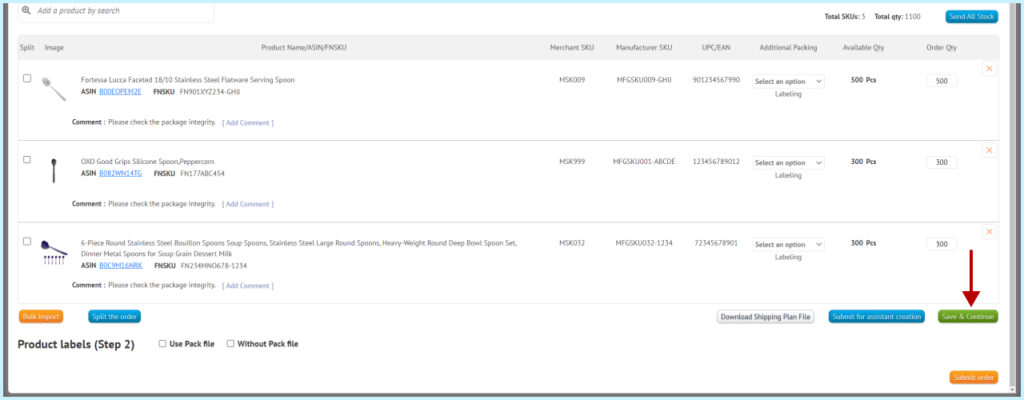
When you load items from a file, your current items will be replaced with those in the file.
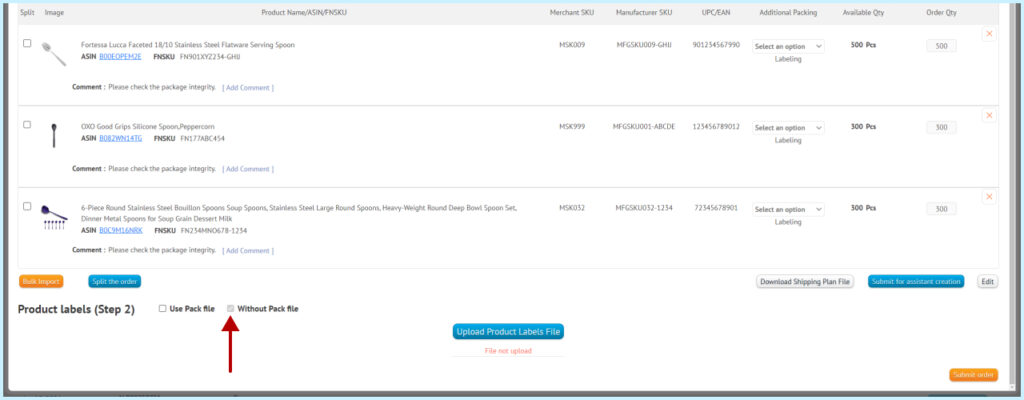
If you are not using the amazon Pack file, activate the Without Pack file checkbox.
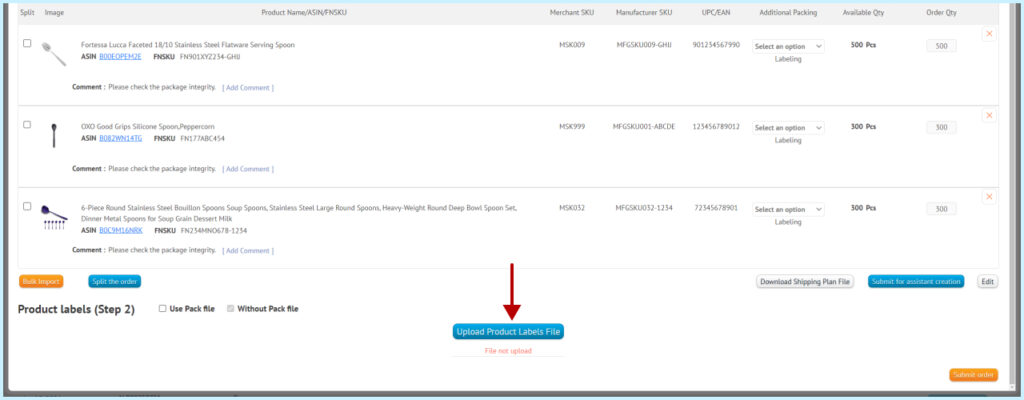
Click the “Upload Product Labels File” button.
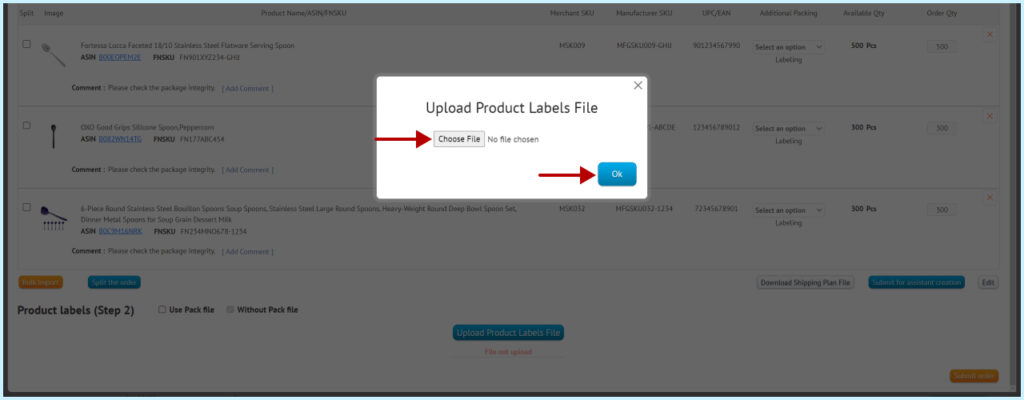
Select the file with Product Labels and click the “Ok” button.
And you click the “Submit order” button.
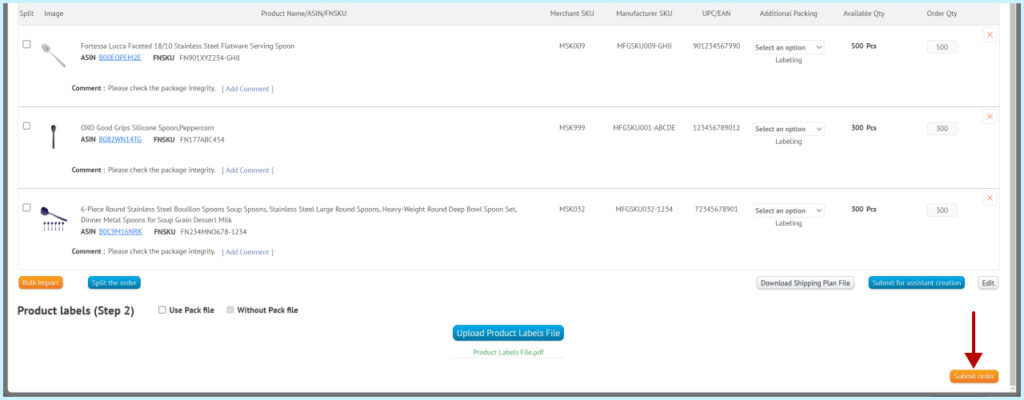
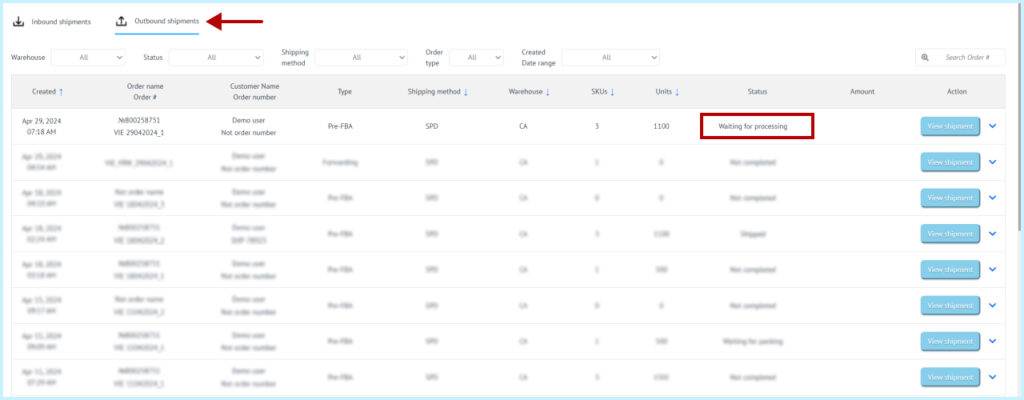
The order has been sent for packing. In Outbound shipments the order will have the status “Waiting for processing”.
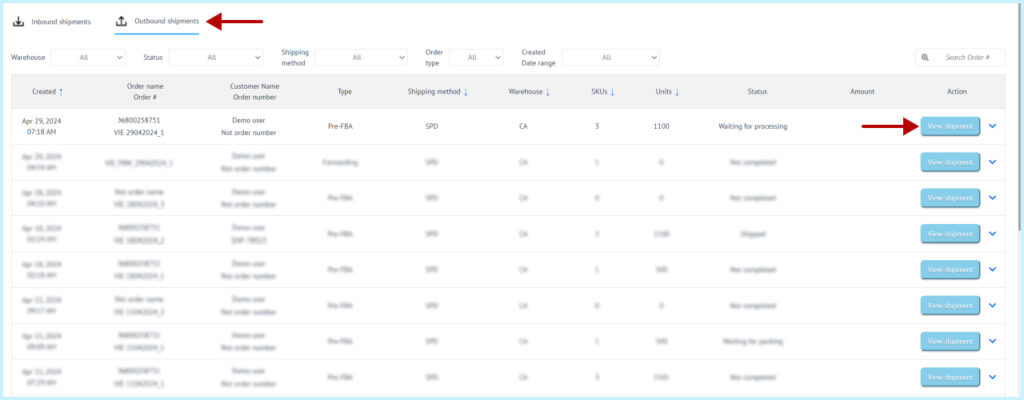
You can change your order until the warehouse is operational:
To do this, you must go to “Order history”, under ” Outbound shipments” and open your order for editing.
Click this “Edit” button and edit the order.
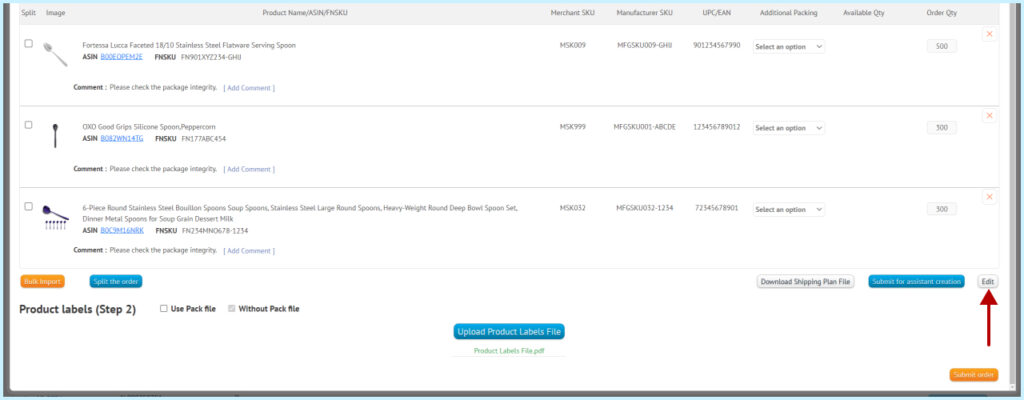
If a warehouse has started an order fulfillment, order changes are only available through the warehouse support team.
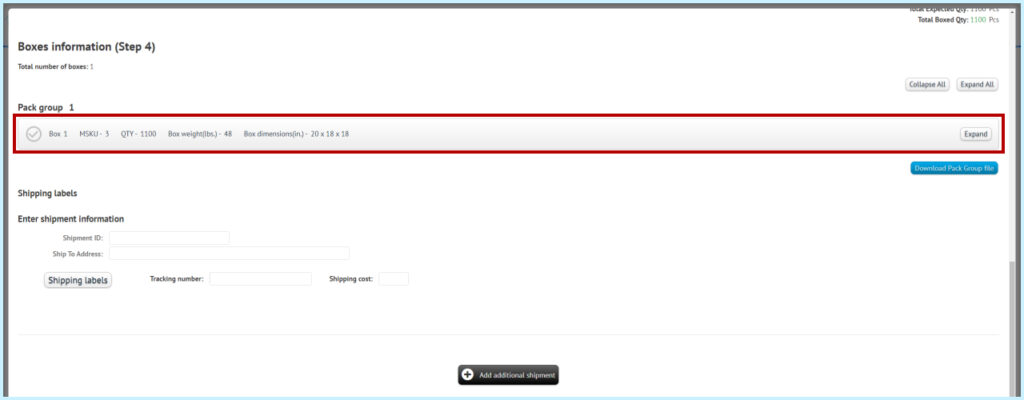
Wait for your items to be packed. You will then be able to view the dimensions and weights of the boxes for purchasing mailing labels to load shipping and packing labels into the system.
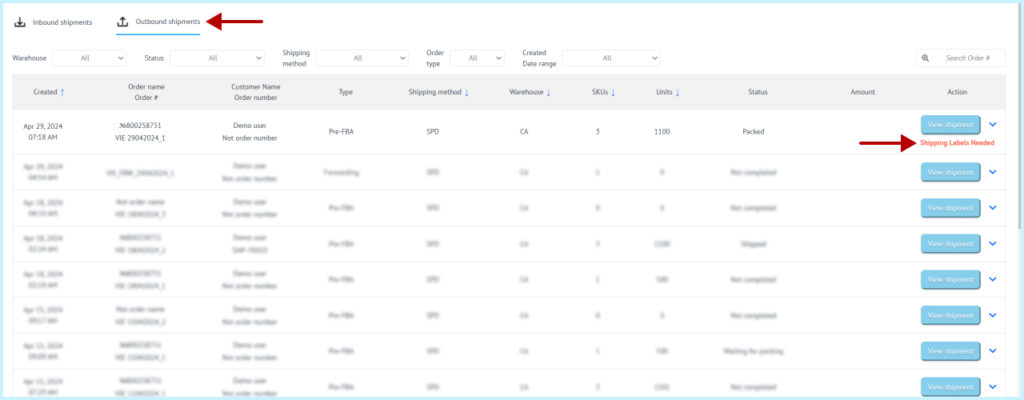
The signal that the warehouse has packed your items you will see in Order History, in the Outbound shipments tab, in the line with your order you will see a red status “Shipping Labels Needed”:
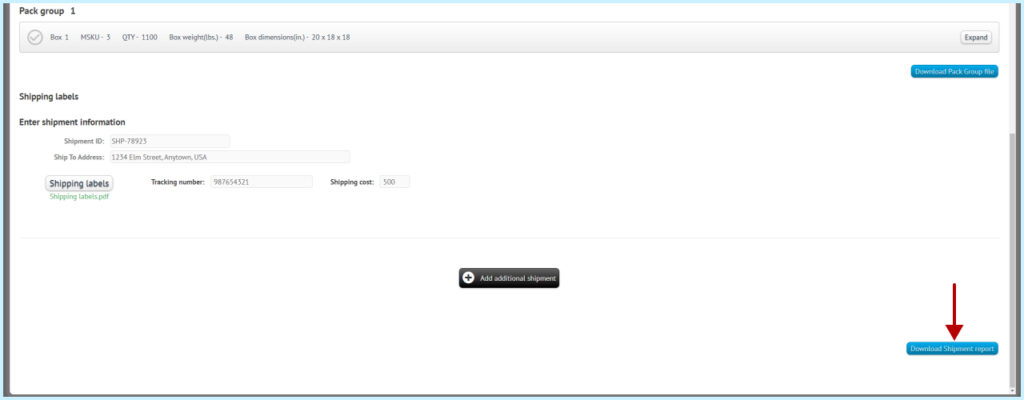
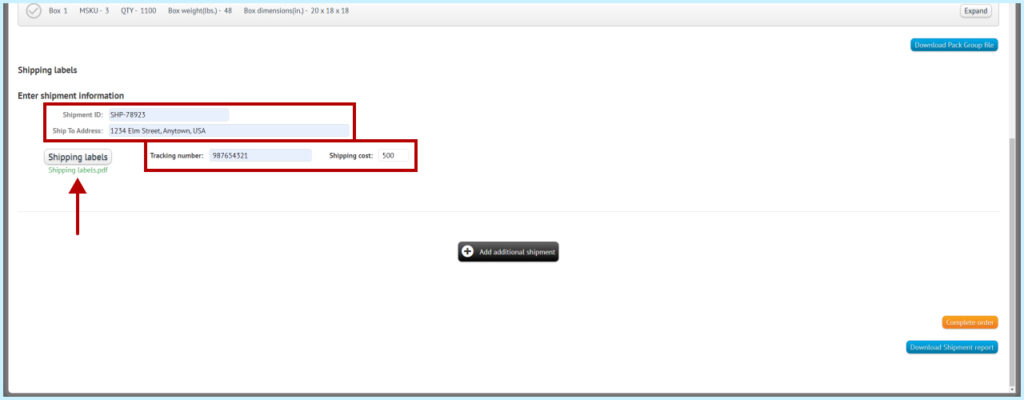
Open your order. At the lowest point there will be Shipment ID, Ship To Address, Tracking number fields. You need to fill them in and upload Shipping labels file. The Shipping cost field is optional.
Click the “Complete order” button.
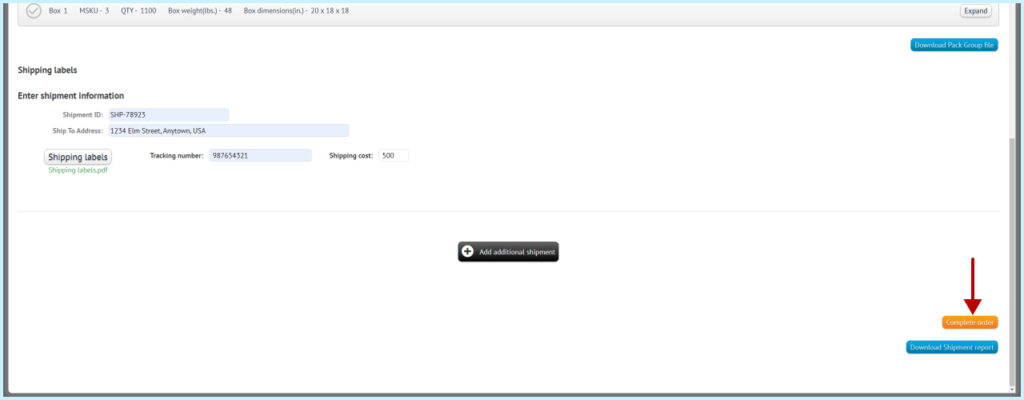
The order status will change to “Shipped” after the warehouse puts labels on the boxes and makes shipment of your items.
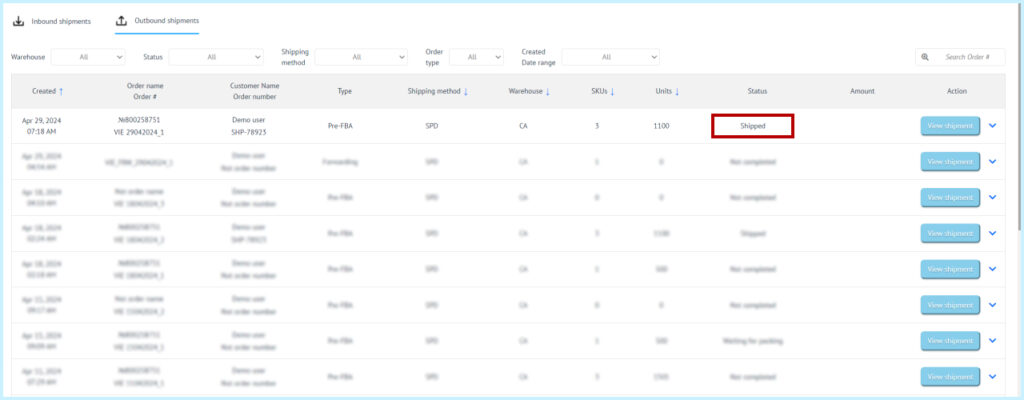
Shipment report:
If you need a Shipment report, go to the order, at the lowest point of the “Packing” tab you will see a “Download Shipment report” button.
